|
Learn How to Make Oil Paints: Sustainable, Healthier & Enriching! Painting classes are offered for all levels and ages in locations throughout the Central Coast of California including Big Sur, San Luis Obispo, Carmel, Monterey, Santa Barabara. Taught by Award Winning Artist Dana Richardson, Big Sur, California Artist. See below How to Make Oil Paints workshop & painting classes brochure! (Click to download) Contact Dana Richardson for available registration information!  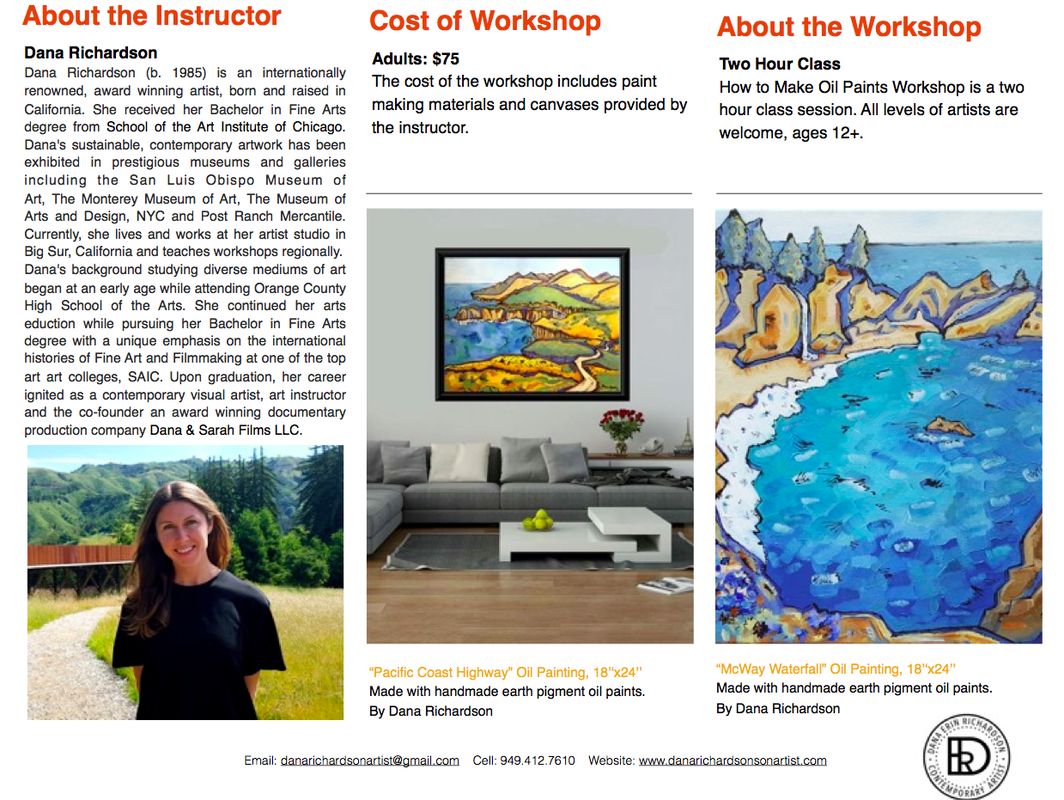
0 Comments
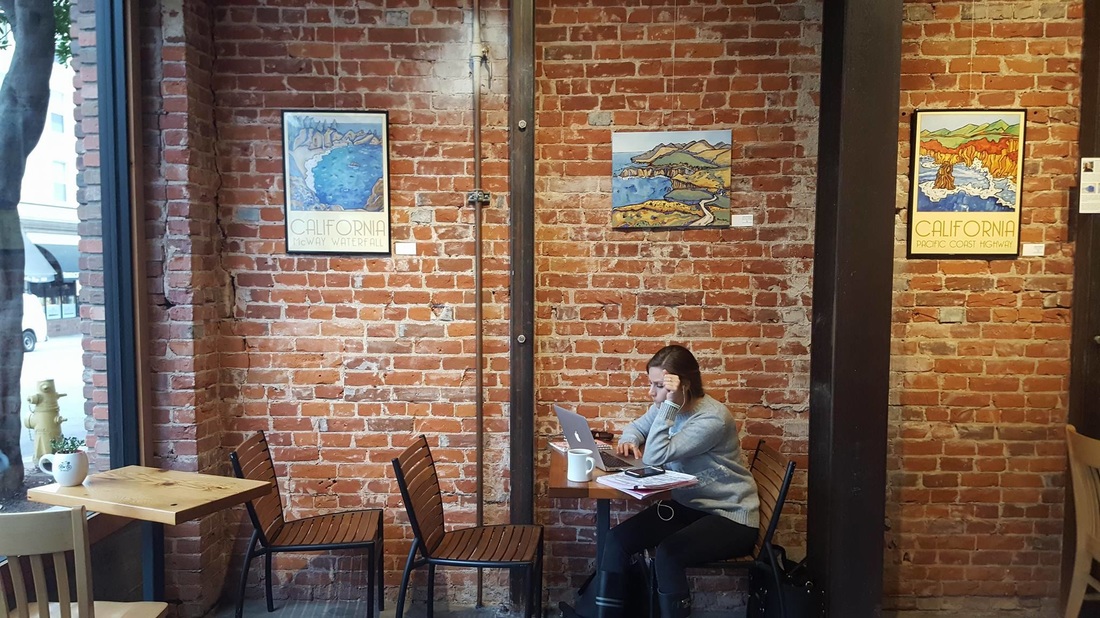
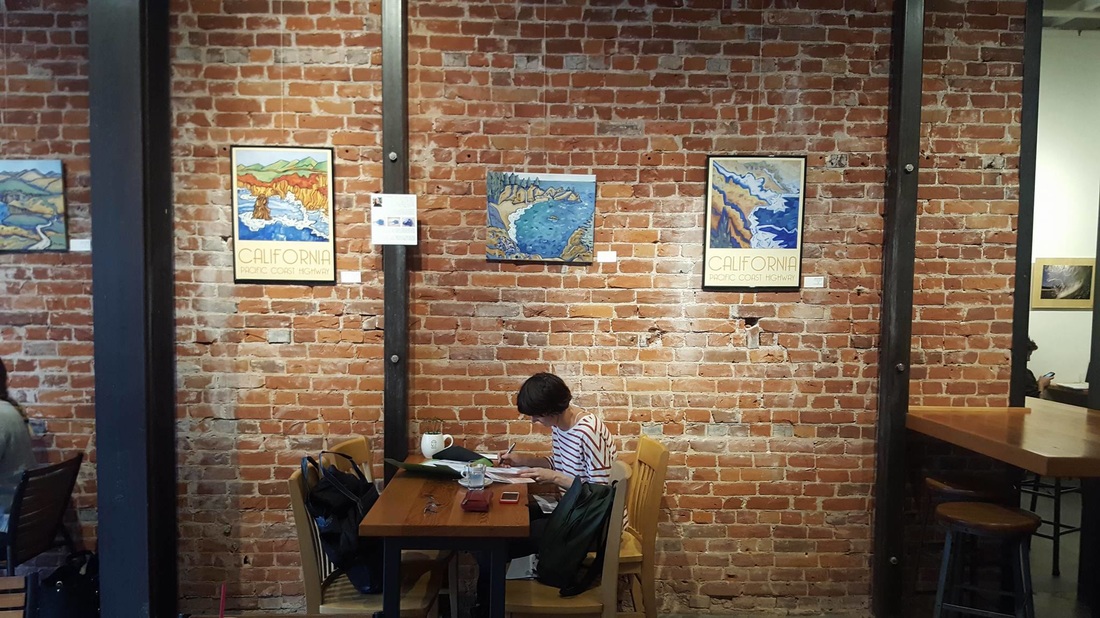
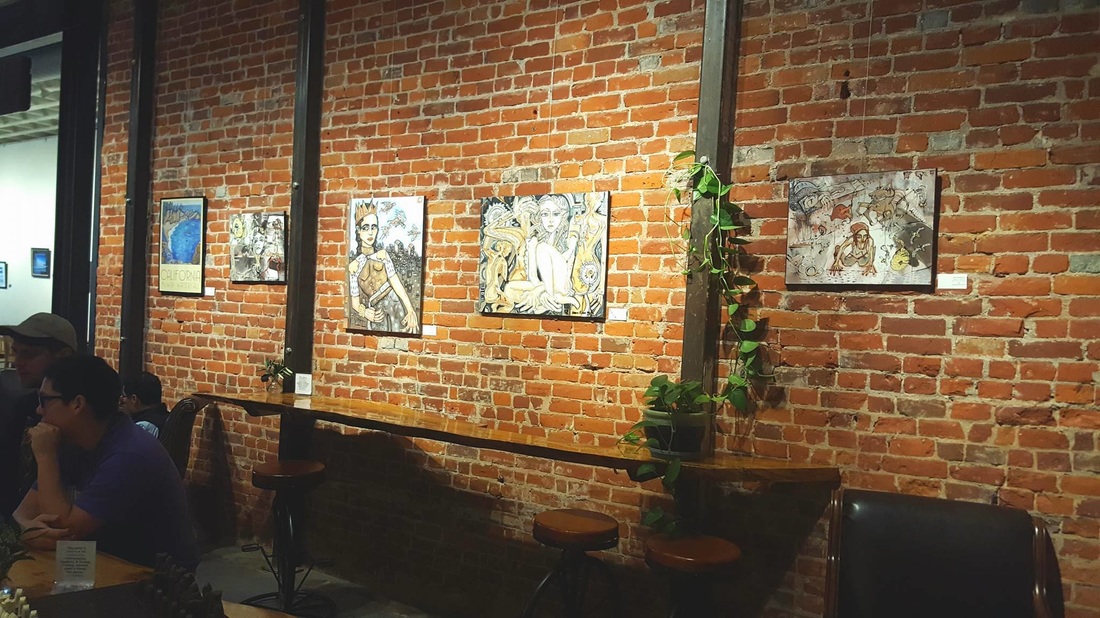
 Dana Richardson original oil painting series is exhibiting at the San Luis Obispo Museum of Art exhibition Art About Town. I am showing a series of abstract and figure oil paintings made with my 100% handmixed, sustainable, oil paints. I used an action art approach to applying the paint to the canvas in this body of work. Specifically involving the use of alternative tools to paint brushes including industrial steel pipes and found objects. Please stop by the museum to inquire about seeing my artwork in person if you are on Central Coast of California. This body of work still has available paintings and has been selling quickly!
Nov.1 - Dec.31st I am exhibiting my original oil paintings at Bello Mundo. If you are on the Central Coast of California, please come see my artwork hanging in the beautiful, popular art space at 974 Monterey St, San Luis Obispo, CA 9340.
The show has already been a great success! As I was in the process of hanging my work an enthusiastic customer approached me and purchased one of my oil paintings, Handyperson. This was very encouraging! And today, only two days after the work was hung another oil painting SOLD, McWay Falls! Thank you to everyone who has stopped in and supported my work, it is very encouraging! The opening reception will be on November 4th as part of the Art After Dark gallery art walk hosted by San Luis Obispo city. There will be live music, drinks, and good company! Come get cozy and inspired.
This week, I edited a short video for Instagram (only 15 seconds long). My goal was for people to see the significant amount of time and effort I go through to make oil paints from earth pigments. Not only does it add time to my painting process, it adds vibrant colors to my art that is priceless! Thanks for taking the time to watch. I hope you enjoy!
The process of making your own oil paints is ancient, pretty basic and very rewarding. It does require some extra time and patience, especially if you are an artist like myself who was accustomed to the convenience of using paint straight from a tube for many years. The idea of making your paint from scratch versus buying paint tubes, is comparable to cooking your own meals from scratch versus going to a restaurant. If you appreciate the sensual experience of choosing your own flavors and natural ingredients for better quality meals, you will probably love making your own paints. The following are my personal favorite equipment, ingredients, and process for making homemade sustainable oil paint. EQUIPMENT:
INGREDIENTS:
PROCESS: 1. Prepping: Prep your glass grinding plate and muller. They both need an abrasive surface in order to create enough friction to smooth the pigments. Use a small amount of the Silicon Carbide with water and grind across one surface of your plate with the muller. When the plate and muller bottom appear foggy, you are done. You do not need to repeat this step every time you make paints. When your glass becomes smoother after a while, repeat the Silicon Carbide process again.
2. Combining: Oil Paints are basically made from combing a “filler,” the color pigment and a “binder,” the liquid or glue that holds them together. Each pigment has its own unique chemistry, requiring different amounts of binder to filler. Slowly add walnut oil to your pigment with an eye dropper, mixing with a palette knife, until it moistens all of the pigment into a paste consistency. Depending on the desired thickness of your paint, add more or less oil. 3. Grinding: This is the fun part. Use the glass muller to smooth the paste into a fine paint. Use small circular motions, utilizing as much of the glass slab surface as possible. You do not need to push very hard. You will find a suction is created between the muller, paint and slab surface, this suction does the fine grinding work. You can tell when the paint is ready when it feels less gritty under your muller. Use your palette knife to scrape the finished paint into a jar. You may also need to use the palette knife to remove parts of the paint that are finished and keep working the remaining ingredients in portions. Each pigment takes different amounts of time for finer results. It takes between 2-7 minutes of grinding. 4. Storage: Your storage containers should seal tightly and be kept out of direct sunlight for longevity. Still, be prepared for them to dry out in days or a week depending on the jar, amount of oil etc. Its a good idea to start with small batches and small containers for longest paint shelf life. 5. Cleaning: As with most projects, this part is not as fun. Take all your supplies to a sink and using warm soap, water, and a old sponge just for paint use, clean all the remaining color from the tools. When cleaning brushes, test its cleanliness with some soap in your hand and rubbing the brush in it strongly, if color remains, repeat or use your Solvent, then rinse. 6. Repeat: Once your have cleaned up, repeat this process with all your desired colors. It can take about an hour to make about 3-5 colors. I recommend doing this before a moment of inspiration, primary colors are usually good choices for versatile options when you are ready to paint. As I prefer to cook by taste, not always sticking to the recipes, I also make my paints by experimentation, adding oil and mixing slowly until desired thickness. Contact me if you have any questions or would like to share what you end up making! |
|